Report Bursting mapping Guide
Introduction
This document contains information about Create, Edit, and Delete Report mapping functionality in Report Bursting. This document has step-by-step information on how to use mapping in Report Bursting and will show one use case example.
Mapping is a way to bind datasets with a report and report parameters in order to achieve report bursting. It is a mechanism using which we are joining a dataset with a report and saving it in a Mapping file. While we execute report bursting, this mapping will take one by one-row data from the dataset and inject it in to report one by one. and this is how multiple reports are being generated with a single click. Mapping is the heart of report bursting.
Objective
The objective of this document is to guide the user to Create, Edit, and Delete Report Mapping.
Prerequisites
Dataset which user has selected for mapping
Report which user has selected for mapping
Creating Mapping in Data Bursting
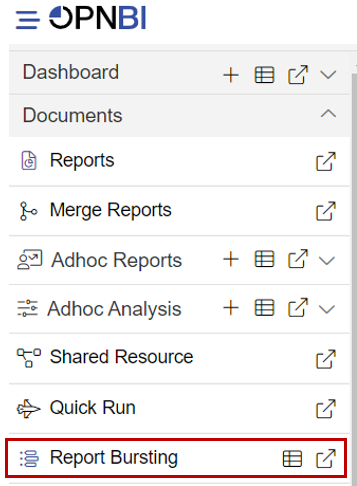
Click on Hamburger Icon.
Go to the Document section and click on Report Bursting, As shown in the figure below:
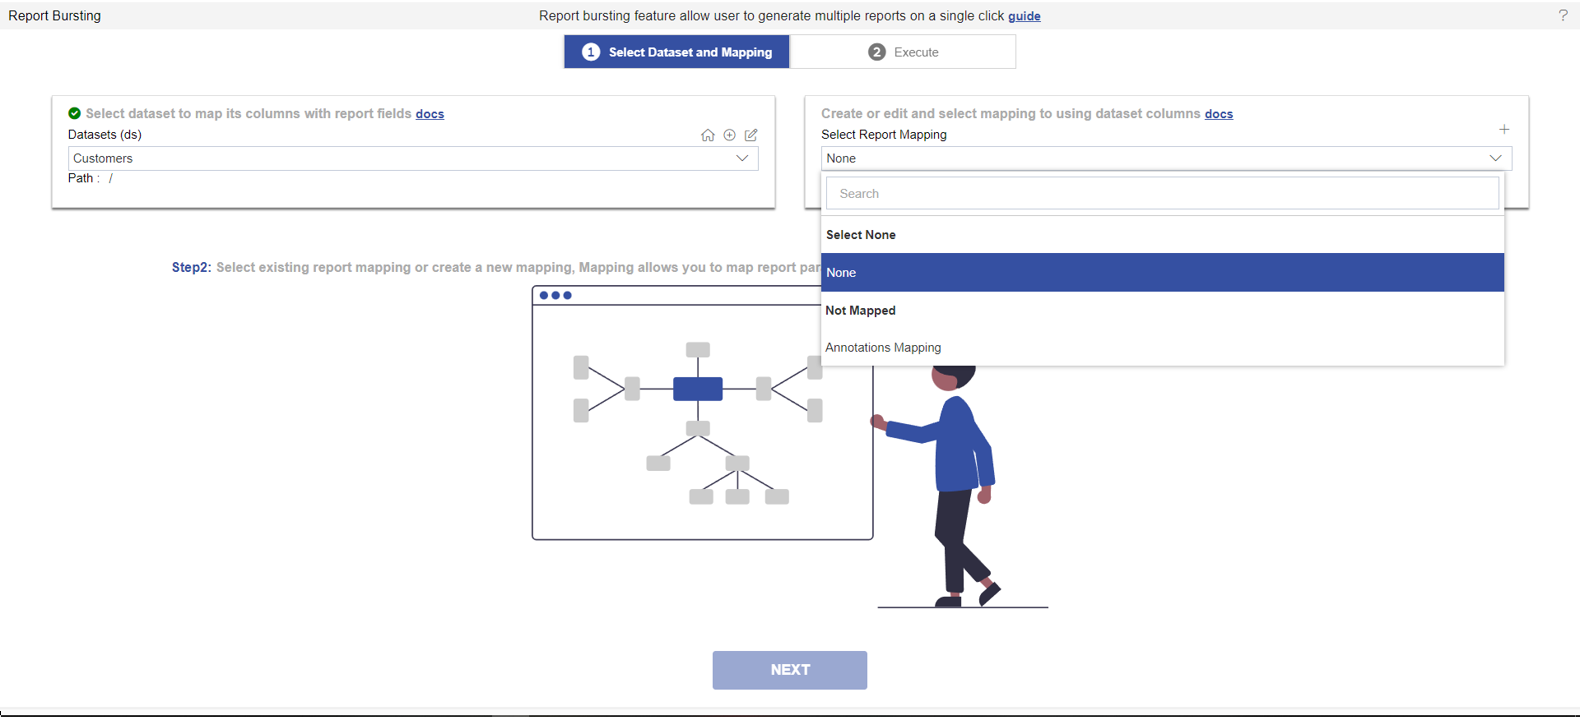
Enter the following details in Select Dataset and Mapping Page, as shown in the figure below:
Dataset: Customers (Create or Select the dataset based on Report parameter, make sure dataset contains unique values)
For downloading Customer Dataset and Top 5 Customers Report click the link below:
Download Customer.zip file from link given Customer.zip
Select report mapping to create a mapping with a dataset.
If you are doing it the first time and there is no mapping created, select report mapping dropdown will show no data. But once the mapping is created or you have existing mapping you can see mappings in the select report mapping dropdown.
In case you have some mappings created, when you select a dataset you will see all available mapping lists under select report mapping, and also you will see all mappings are grouped by Mapped and Not Mapped Keywords.
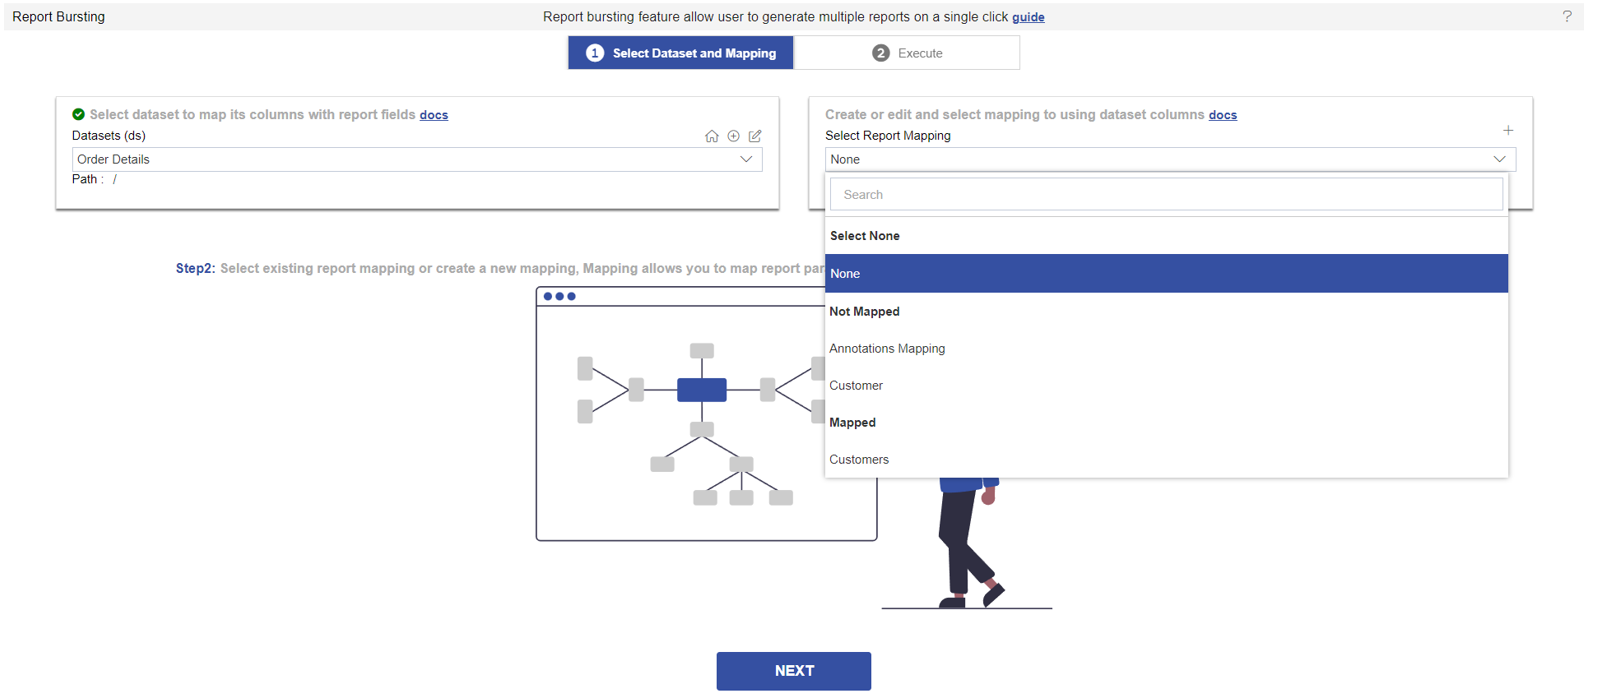
If you have created mappings with the selected dataset earlier then you can see your mapping in the Mapped list and other mappings are grouped in the Not Mapped List as shown in the below screenshot
Create Mapping
info
To create a mapping, a user must select a dataset before it. otherwise, mapping dropdown will not be enabled.
To create a new mapping with selected Dataset, click on the + icon and It will display the Schedule page, as shown in the figure below:
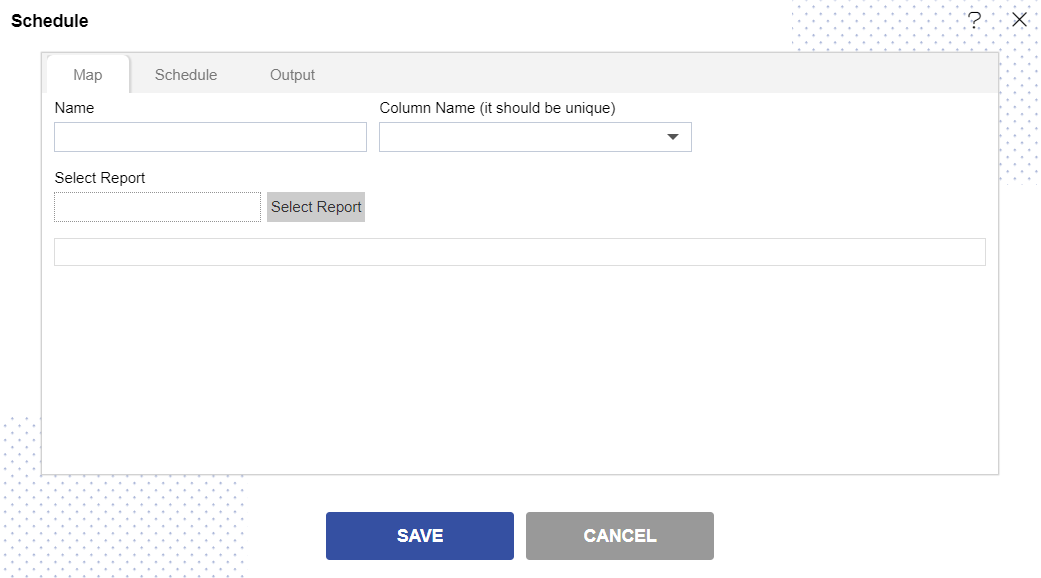
Enter the following details in Map Tab.
Note:
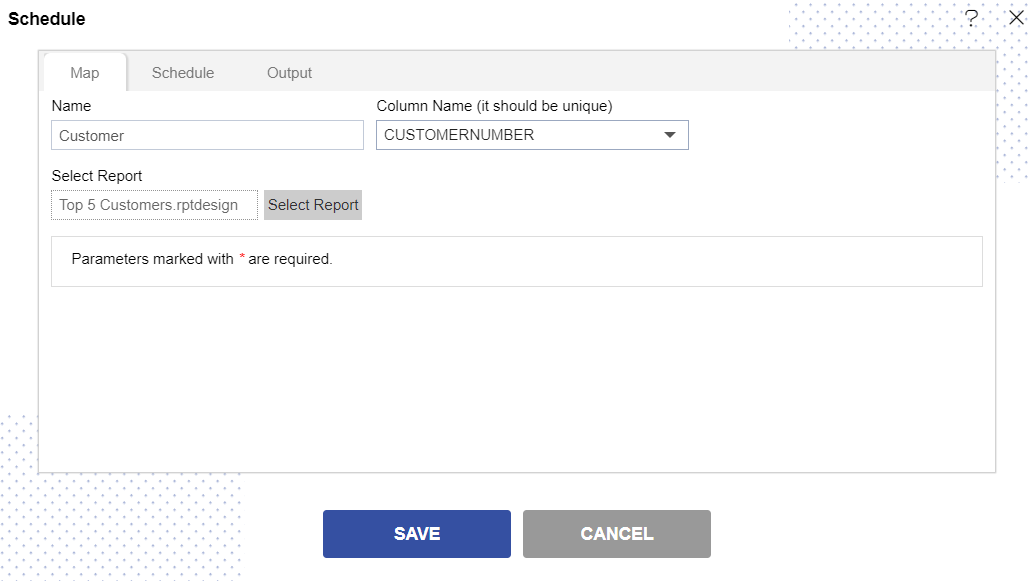
Name: Customer [ Add name as per your requirements]
Column Name: CustomerNumber [ It should be Unique ]. Reports will be generated with this name.
Select Report: Top 5 Customers.rptdesign [ Add a report based on your requirements ]
Fill above details, as shown in the figure below:
Click on the Output Tab.
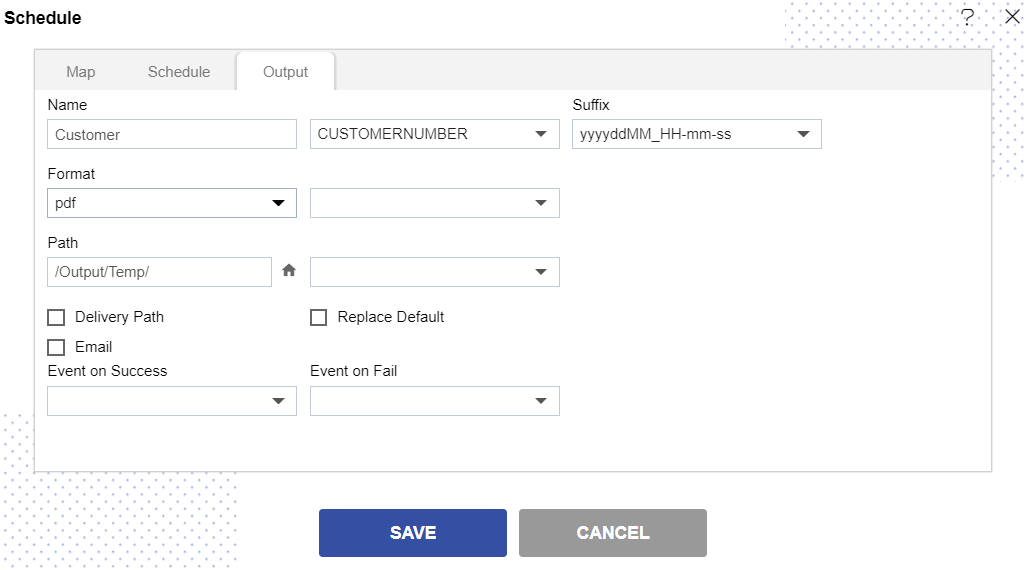
Enter the following details in Output Tab.
Note:
Name: Customer [ Add name as per your requirements]
Select CustomerNumber column in dropdown List [ select Unique column which you have selected in column name]
Suffix: yyyyddMM_HH-mm-ss [ optional ]
Format: Pdf [ Select the format in which you want to generate the output from the dropdown menu ]
Path: /Output/Temp/ [ specify the delivery path on your computer where the reports will be downloaded ]
Fill above details, as shown in the figure below:
Click on the Save button and it will display the message Created Successfully, as shown in the figure below:
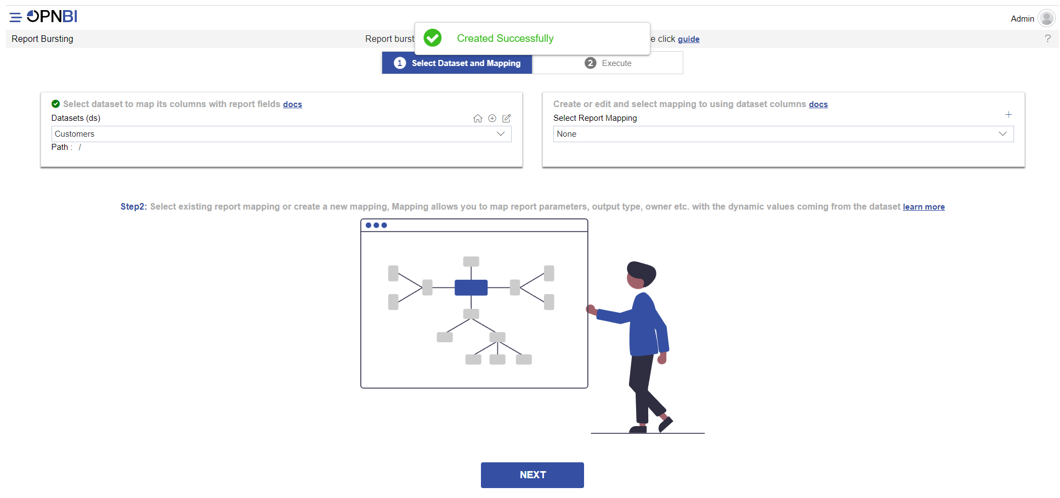
Once a mapping is created, you can now open mapping dropdown and you can find created mapping in Not mapped List.
Edit Mapping
To Edit mapping with selected Dataset, click on icon and It will display the Schedule page, as shown in the figure below:
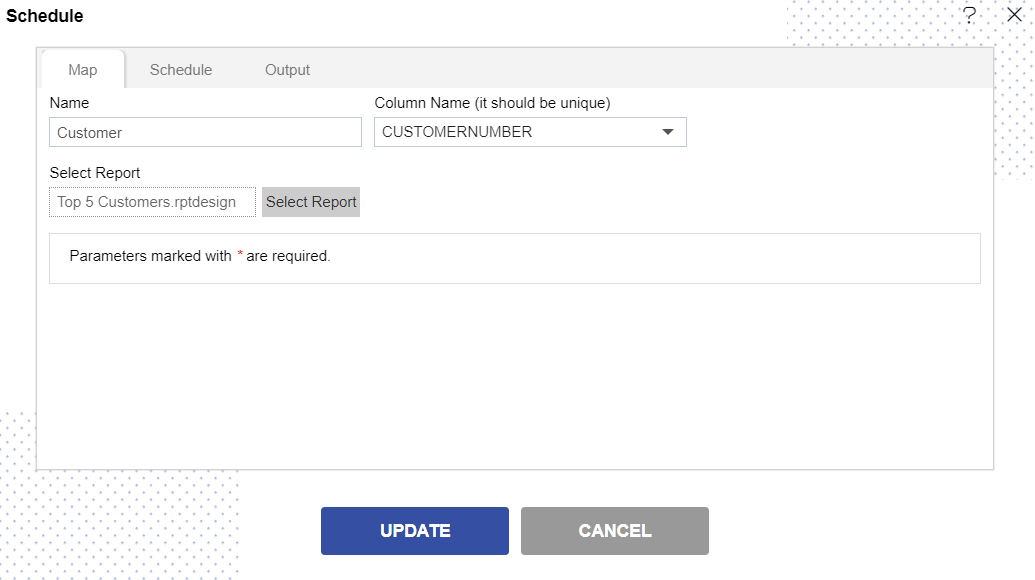
Enter the following details in Map Tab.
Note:
Column Name: CustomerName [ It should be Unique ], Now reports Name will be each Customer name data.
Fill above details, as shown in the figure below:
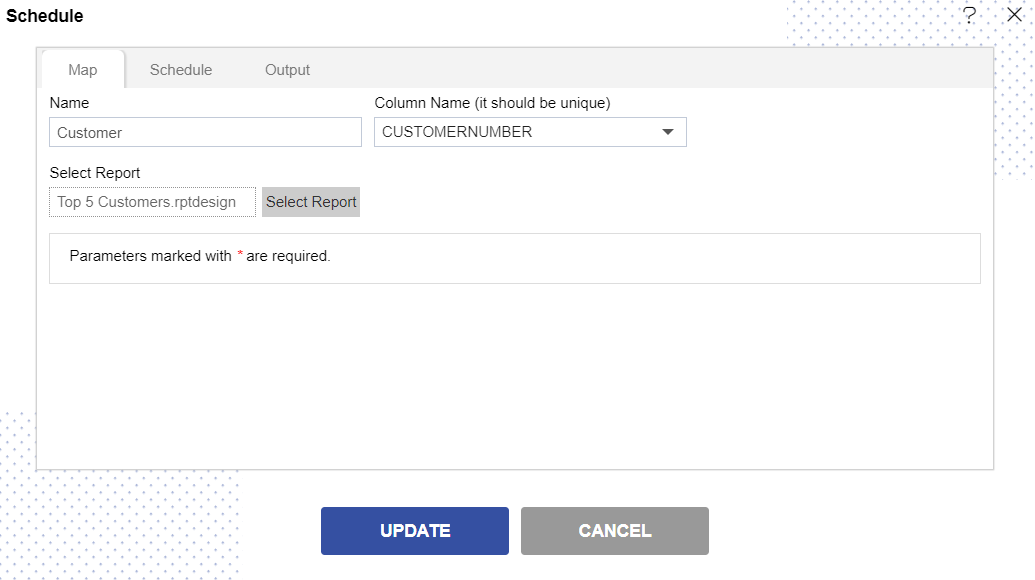
Click on the Output Tab.
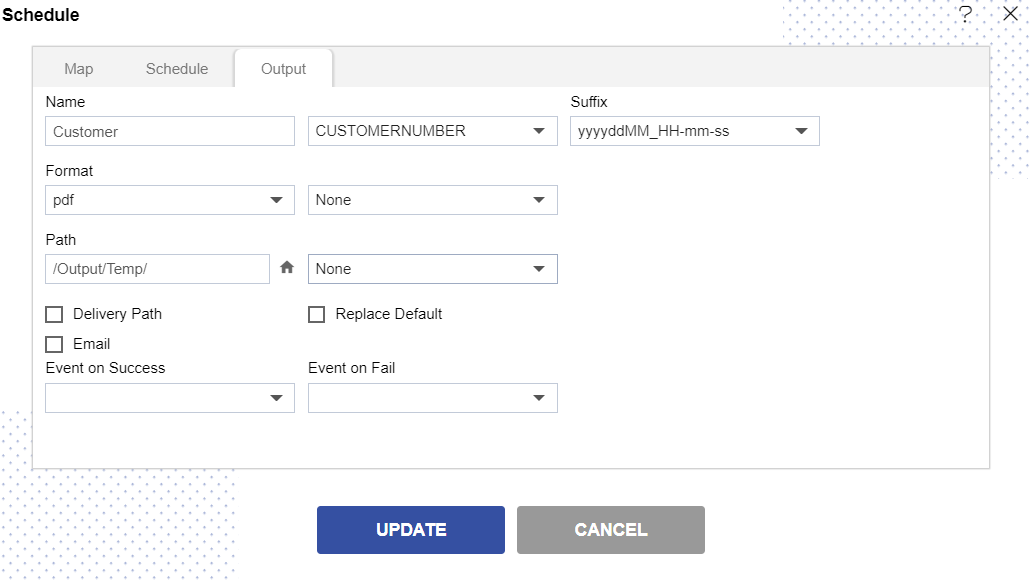
Enter the following details in Output Tab.
Note:
Select CustomerName column in dropdown List [ select Unique column which you have selected in column name]
Fill above details, as shown in the figure below:
Click on the Update button and it will display the message Update Successfully, as shown in the figure below:
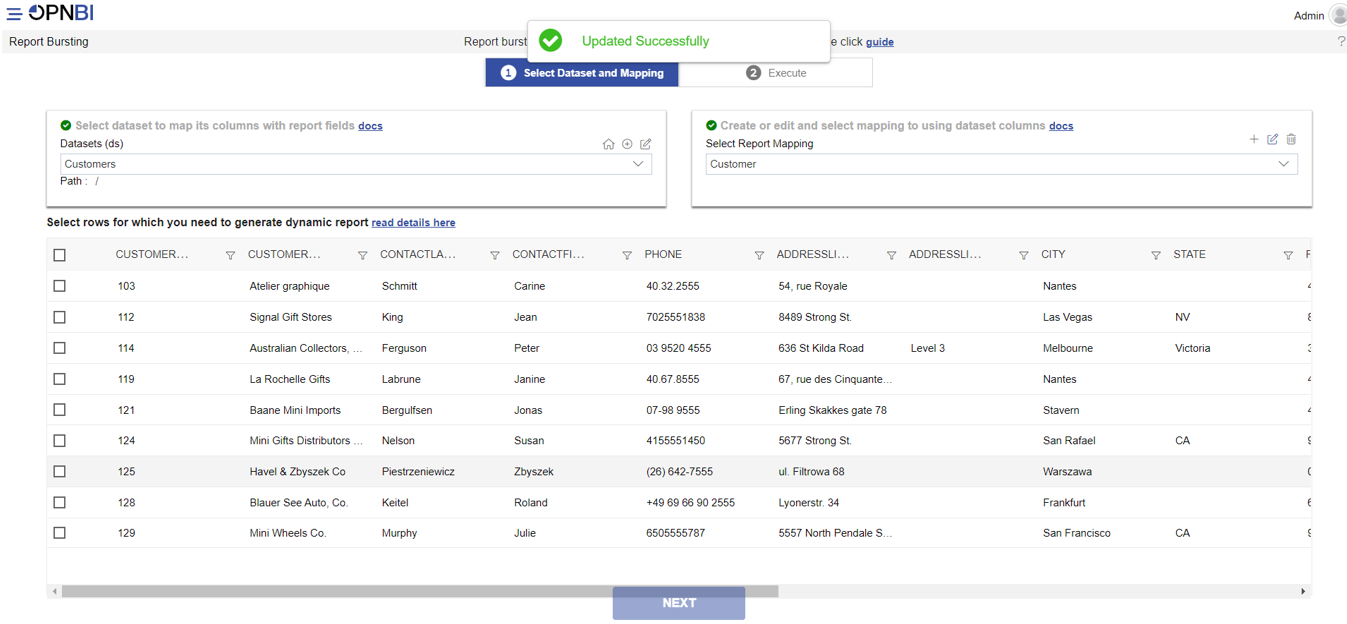
In this example I am selecting five customers Customer name, as shown in the figure below:
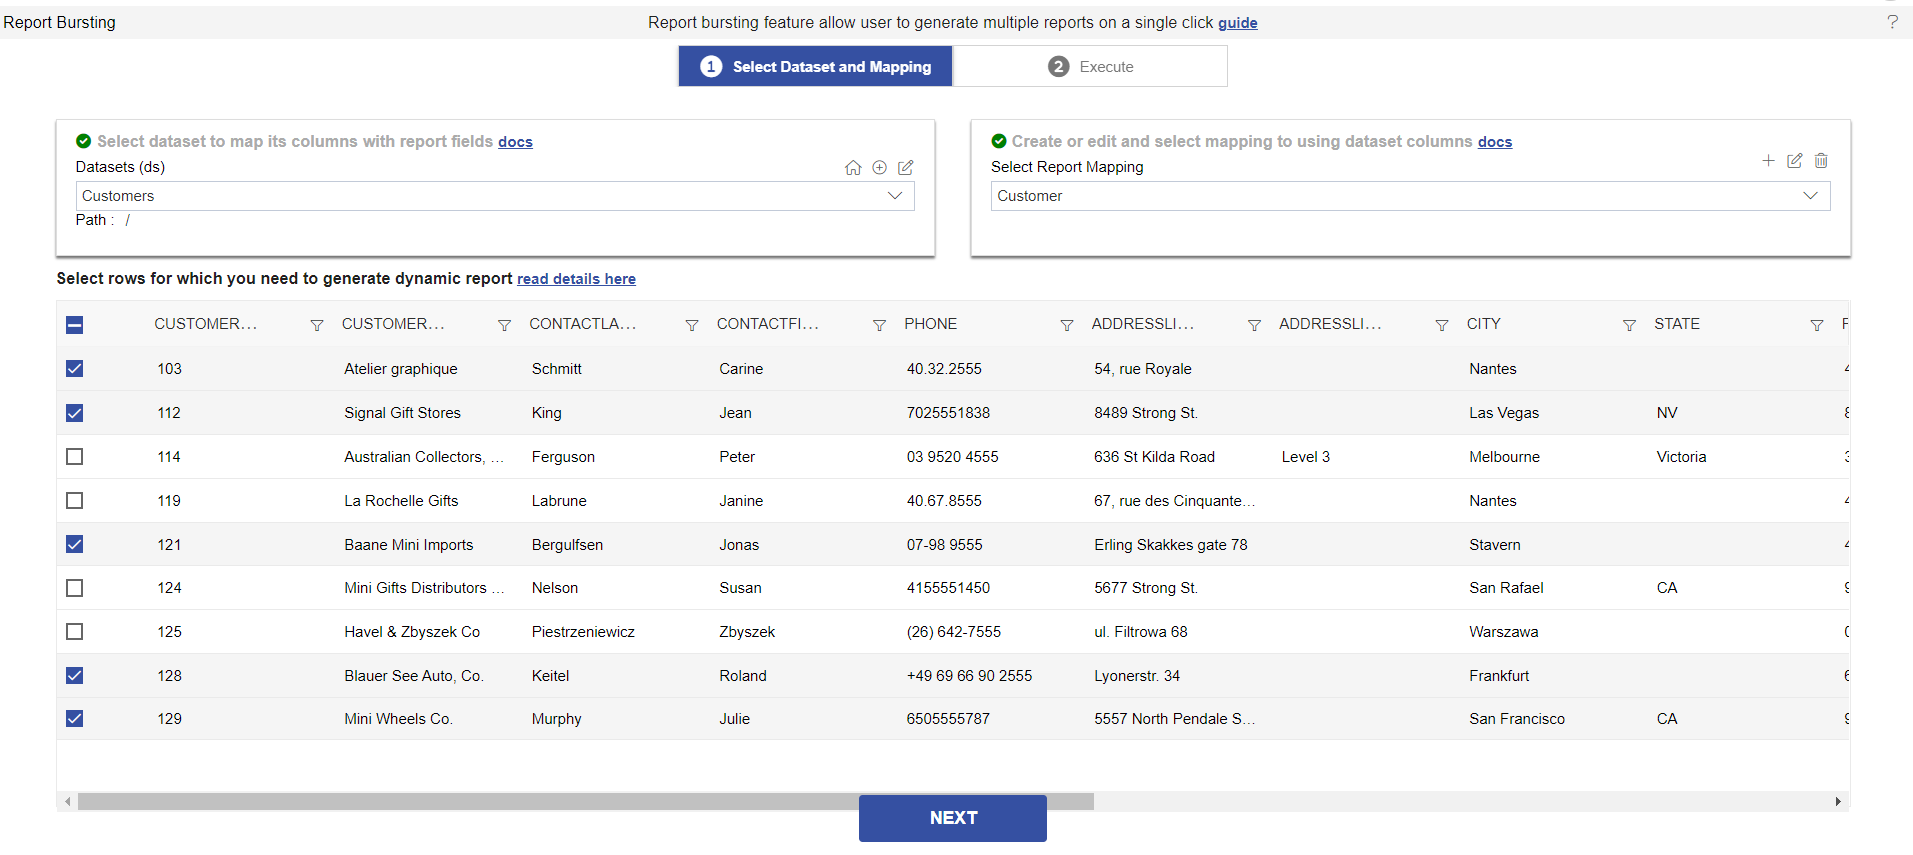
Click on the Next Button.
In Execute Page Select the Synchronous radio button and select the format in which you want to generate the output, As soon as reports are generated, all reports will be downloaded to your machine in a zip file.
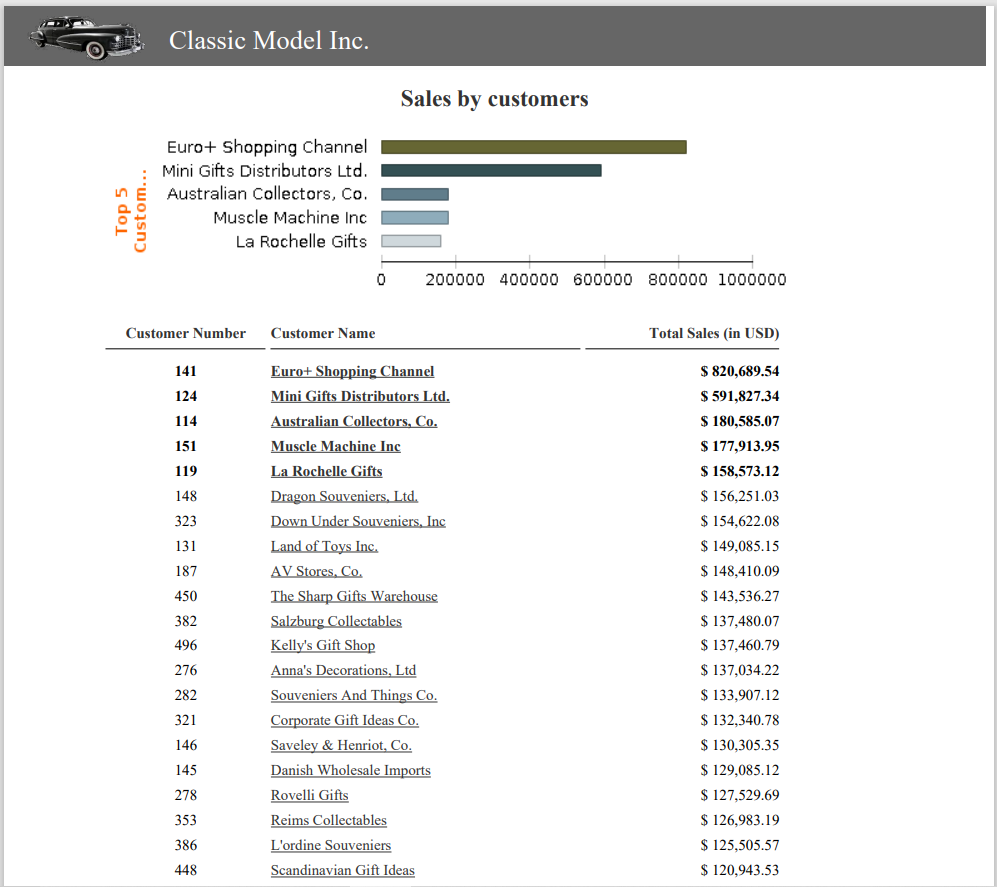
Go to the folder where you have downloaded this file and extract the zip file, When you go inside the folder you will be able to see the pdf file by customer name which you are selected, as shown in the figure below:

In Synchronous user can see the output report, as shown in the figure below:
Delete Mapping
To Delete mapping with selected Dataset, click on icon and It will display the dialog box, as shown in the figure below:
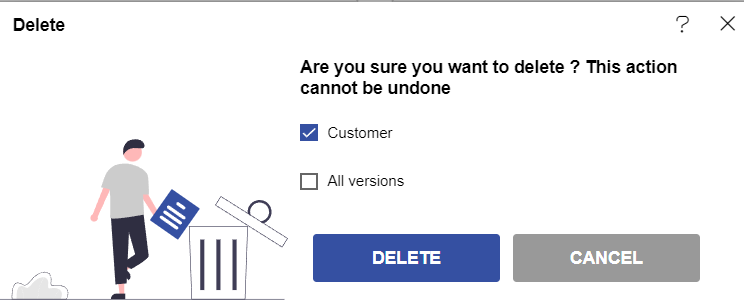
For a mapping that has multiple versions, you can select whether you want to delete the current version or all versions of that mapping.
Click on the Delete button and it will display the message Delete Successfully, as shown in the figure below:
